Versions Compared

Key

  • This line was added.
  • This line was removed.
  • Formatting was changed.

Step-by-step

Expand
titleFor 2019 and later versions.
  1. In Outlook click ‘File’

  2. Click ‘Account Settings’

    Image RemovedImage Added

  3. Click ‘Manage Profiles’

  4. Under ‘Profiles' click 'Show Profiles’

  5. Click ‘Add’

  6. Give the new profile a name.

  7. Enter your name, your SU email, your password, and click ‘Next’

    Image RemovedImage Added

  8. It will log you in and you can click ‘Finish’

    Image RemovedImage Added

  9. Select the new profile in the drop down menu so that it will open it by default and click ‘OK’

  10. Close outlook and reopen it so that it opens the new profile.

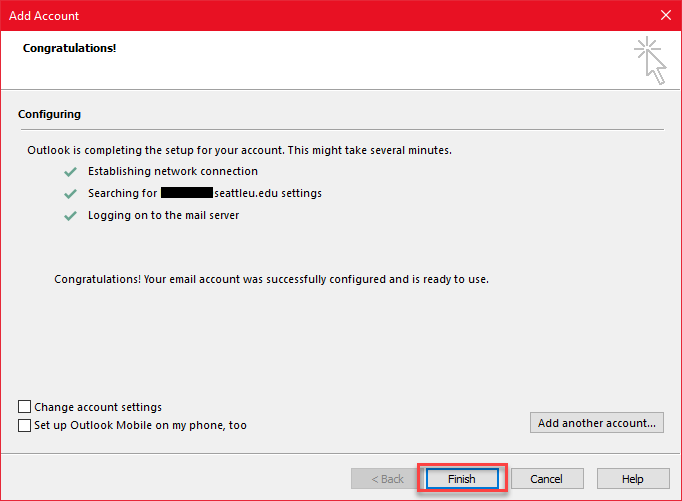
Your email and calendar will take time to sync on the new profile. If things look odd, wait for the sync to finish before contacting ITS for help.

...

Info

Need additional help? Submit a ticket in our new portal here: IT Service Desk Help Center

Page Properties
hiddentrue

Related issues